
How To Use Sailing Dog Bones
We know what you’re thinking “how can a dog bone be used on a sailboat? We’re not playing fetch!”.
Well, the type of dog bone we’re talking about here is not something you would want to feed to your favourite four legged friend.
No, the type of dog bone we are talking about is a small, lightweight, ‘dog bone’ shaped piece of aluminium. And they are becoming increasingly more popular on modern sailboats.
So, in this article we will explain a few useful ways to use a dog bone that will soon have you fetching one from your tool bag!
Jump To
Dog Bone Technical Information
Materials have developed over the years and as a result rope is now replacing many traditional stainless-steel fittings such as shackles, hooks and wire. Because of this it has opened up a variety of new ways to streamline, lighten and adapt the way we attach things to the hull, sail or control lines of a boat. Dog bones are a direct development of this.
Dog bones can be used in a vast array of applications due to the shape and features of the product, however, it’s main purpose is to connect rope to something.
Examples of use:
Main halyard
Jib sheet
Spinnaker sheet
Tack lines
Tii-on blocks
High load thimbles
Cunningham system
Clew tie
-
 6mm Dog Bone£9.02
 -
8mm Dog Bone£11.45
-
10mm Dog BonePrice range: £12.07 through £12.54
-
12mm Dog BonePrice range: £13.13 through £13.64
-
16mm Dog Bone£16.50


A2040Tii with locked A8606 dog bone shackle A2040Tii with un-locked A8606 dog bone shackle A8606 dog bone soft shackle Dog Bone used to terminate halyard or sheet Dog Bone on leash Dog Bone used in special soft shackle Dog Bone used in special soft shackle Dog bones used in cunningham system Dog bones used in cunningham system


Why use a dog bone?
Dog bones have a few simple features to ensure they are suitable for a wide range of applications.
Weight
Dog bones are extremely lightweight. Replacing a metal shackle for a dog bone on the end of a jib sheet will help reduce damage when the clew slaps against the mast, deck or sailor! Reducing the weight on the spinnaker or jib clew will also help the sail set more efficiently.
Low Profile
Streamlining any fitting is always a bonus, it will help reduce windage, thus making the boat more efficient. It can also stop snagging.
Quick and simple
There’s nothing worse than needing to undo a shackle or knot in a hurry, especially as both can require tools in many situations if over tightened. A dog bone however is usually attached via a simple loop in the rope which is quickly and easily undone by hand.
Additional features
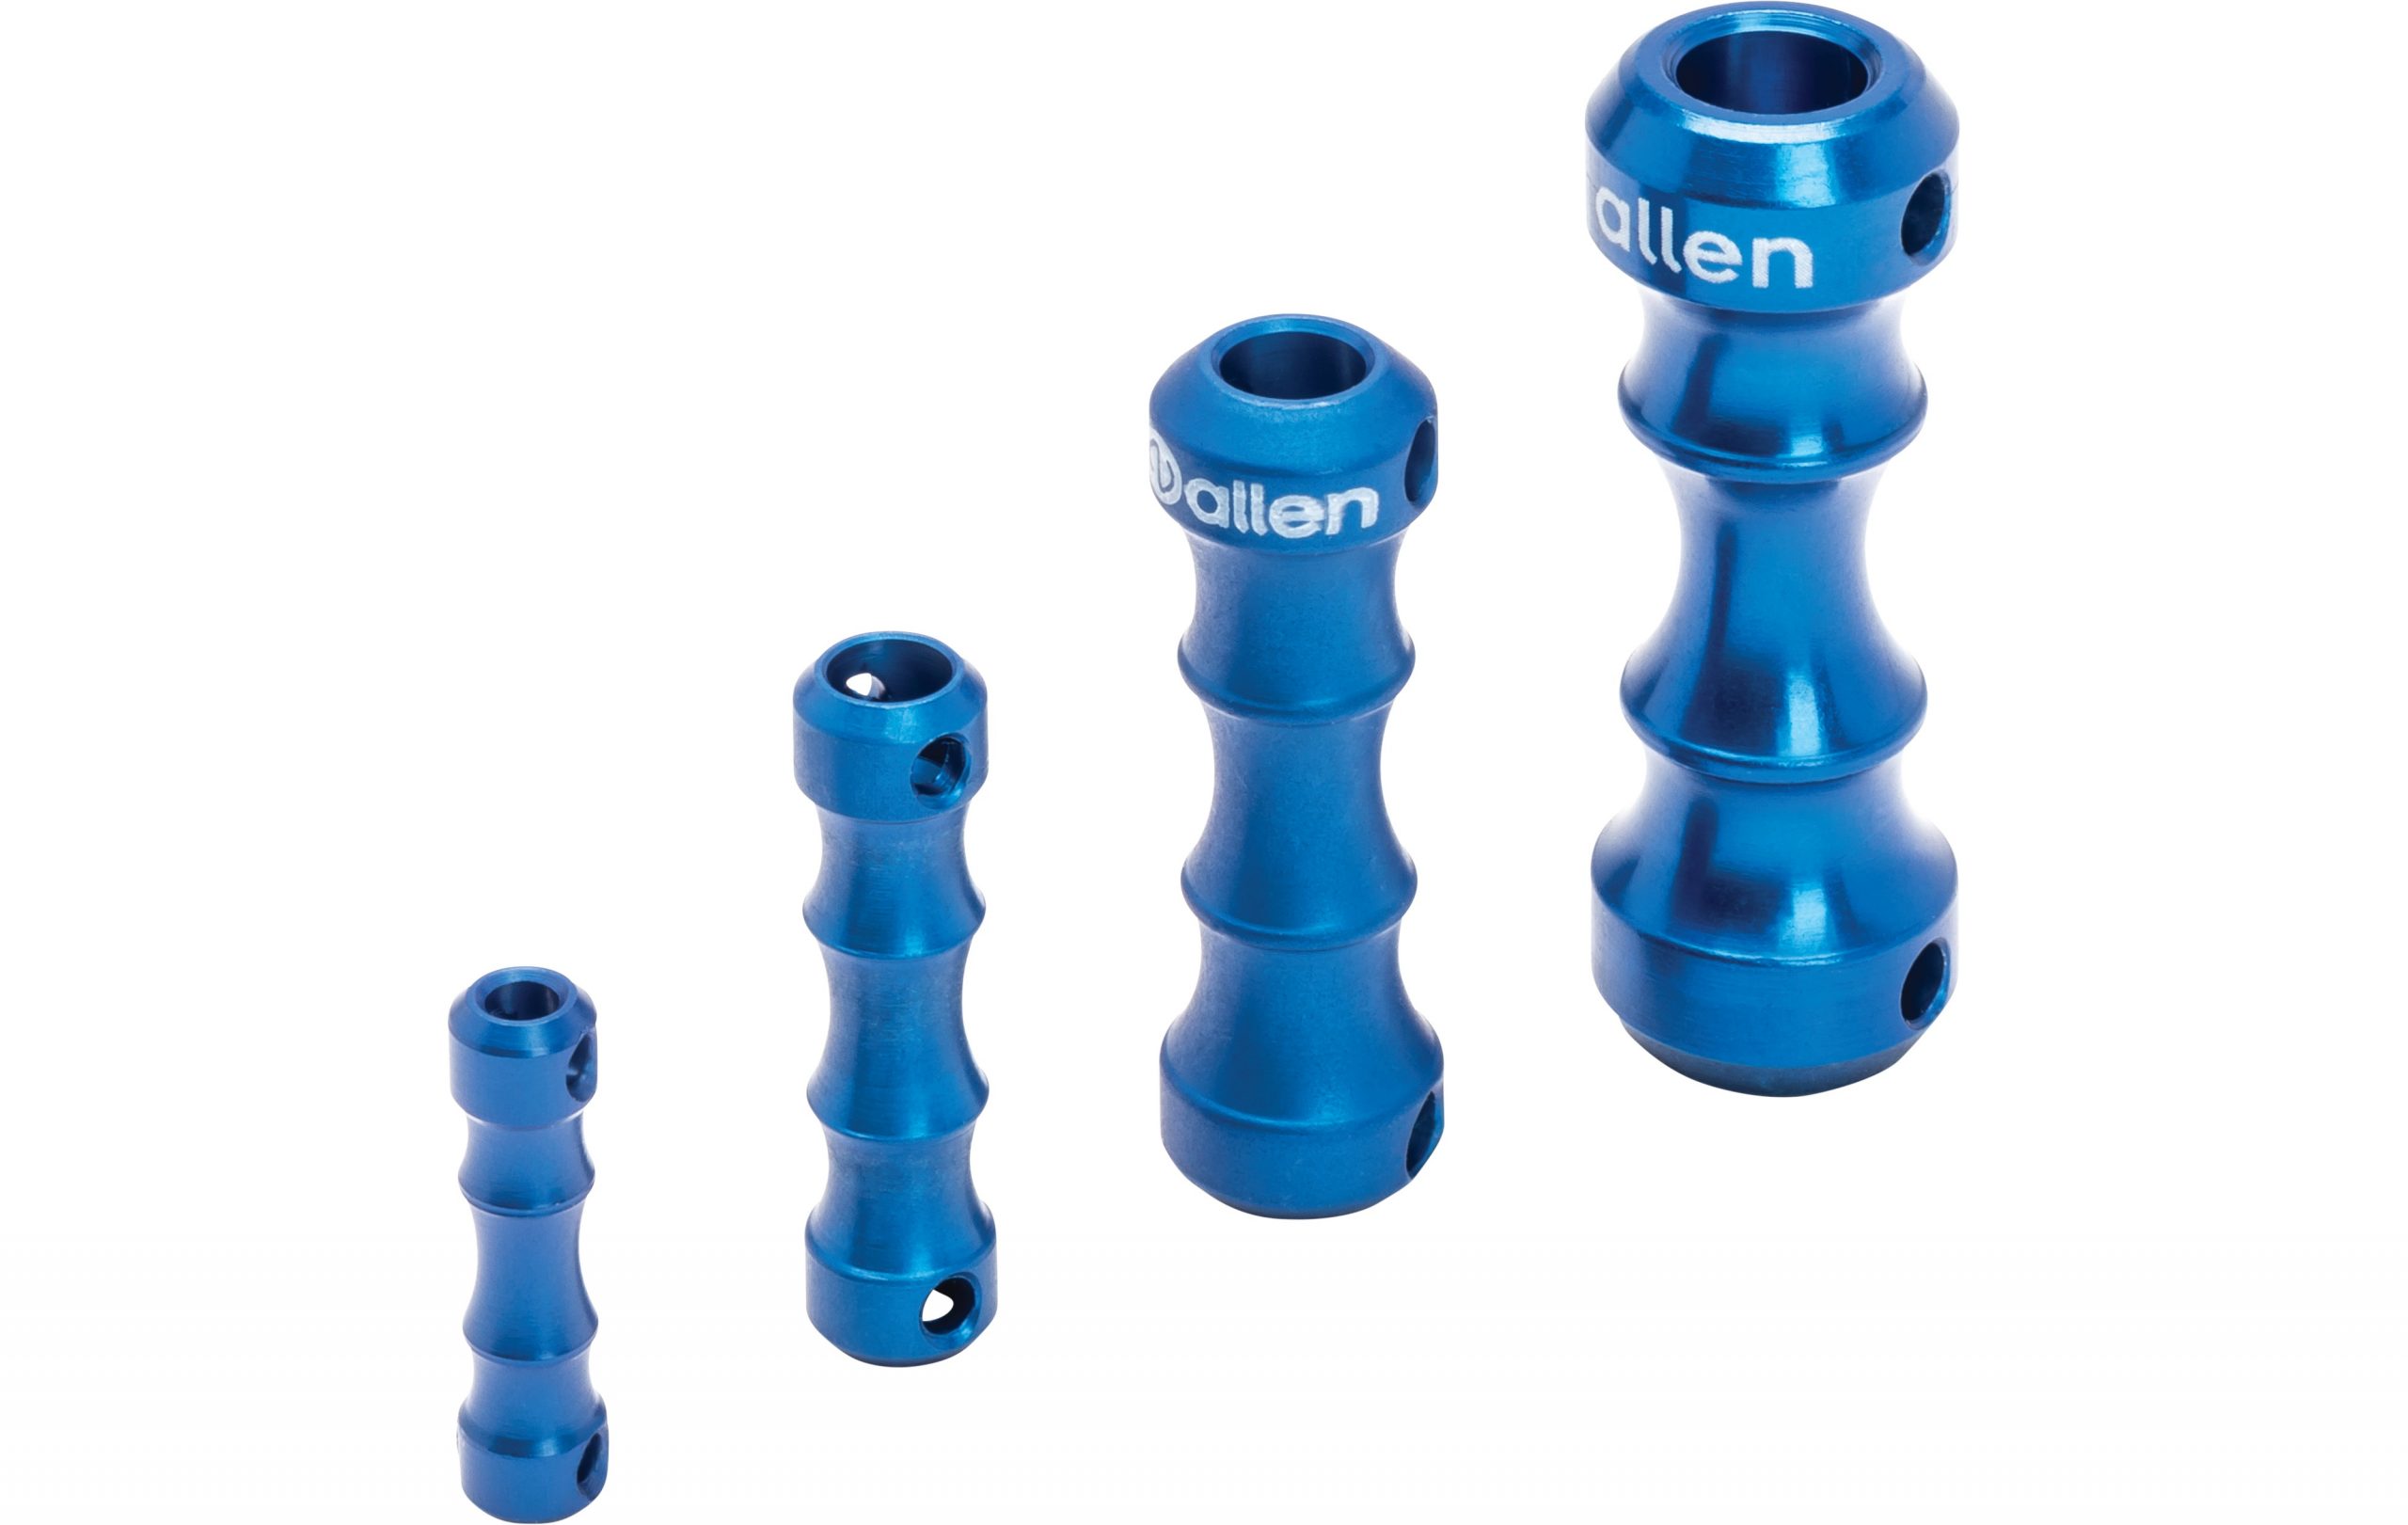
Allen dog bones are shaped differently to others on the market. Our triple cut-out design allows the rope to be looped perfectly around the dog bone without loosing any strength in the rope. The two protruding edges between each of the three tapered cut-outs act as a barrier which stops the dog bone from being able to slip off of the rope.
Cross holes on each end allow for an attachment of a leash line. The end is also recessed to allow the small knot of the leash line to sit inside the dog bone to keep it flush.
Available in 4 sizes ranging from 6mm to 16mm to allow for a wide range of rope sizes and applications.
Each of the 4 sizes is also available in a range of 6 colours, so you can add a personal touch to any system or colour code for ease of use.
Dog Bone Technical Information
| SKU | title | breaking load kg | length mm | maximum outside diameter mm | minimum outside diameter mm | suggested rope diameter mm | safe working load kg | weight g |
|---|---|---|---|---|---|---|---|---|
| A8606 | 6mm Dog Bone | 600 | 24 | 6 | 4 | 2 - 4 | 350 | 1 |
| A8608 | 8mm Dog Bone | 1100 | 32 | 8 | 6 | 4 - 5 | 600 | 3 |
| A8610 | 10mm Dog Bone | 180 | 10 | 10 | 6.5 | 5-6 | 900 | 4.6 |
| A8612 | 12mm Dog Bone | 2500 | 40 | 12 | 7 | 5 - 6 | 1400 | 7 |
| A8616 | 16mm Dog Bone | 3500 | 48 | 16 | 8 | 6 - 8 | 2000 | 14 |
How to make a 20cm dog bone soft shackle
If you’re no good at tying diamond knots and want a simple splice-able solution, then here is a great, easy way to make a soft shackle which is suitable for a 40mm Tii-on block.
You will need
1 x A8606
1 x A2040Tii
50cm of 3mm Dyneema
1 x 4mm splicing fid
1 x Pull fid or small splicing needle
1 x Sharp scissors
Create a loop 10cm from one end of the Dyneema, then push the short end of the Dyneema through the longer part to make a loop big enough to fit your little finger in.


Then push the longer end through the short end and pull tight. This will create a Brummel locking splice.
The short end of the Dyneema should be roughly 5cm long.


Using the pull fid, work it inside the long part of the Dyneema (starting roughly 6 – 7 cm from the splice) until you reach the Brummel splice.
Thread the end of the short piece into the pull fid.
Then work it back inside until it comes out with the pull fid.
Now milk the cover back over the short piece until it’s nice and smooth and the short end is completely covered.


Measure 21cm from the spliced loop and then loop around the dog bone.
This will be the point at which to do another Brummel locking splice.


To do the Brummel locking splice around the dog bone, push the non-looped end through the looped piece, and then push the looped piece through the non-looped end.
Pull tight.
This will create the Brummel locking splice around the dog bone.
(Getting the looped end through can be a little tricky, so just be patient and work it through slowly.)


Now, find the place where the end was buried for the loop and insert the pull fid as close as possible to it.
Work the pull fid inside the Dyneema towards the dog bone and out as close as possible to the splice.
Thread the end of the Dyneema into the pull fid.
Then work it back inside until it comes out with the pull fid.
Now, milk the cover back over until it’s nice and smooth.
You should have roughly 7cm sticking out. Take a sharp pair of scissors and cut the end off.
Hey presto! You now have a 20cm long (external length) dog bone soft shackle.


To attach the soft shackle to an A2040Tii, use a piece of whipping twine to help feed it around the block.
Ensure the dog bone end is shorter to make locking the shackle easier.


We hope you found this article useful. To find out more information about any of the products on this page, or to use this article in your own marketing, please email marketing@allenbrothers.co.uk
-
6mm Dog Bone£9.02
-
8mm Dog Bone£11.45
-
10mm Dog BonePrice range: £12.07 through £12.54
-
12mm Dog BonePrice range: £13.13 through £13.64
-
16mm Dog Bone£16.50